How to Replace a Roof Shingle
May 20, 2024A sturdy roof is the cornerstone of a secure home. However, over time, wear and tear can lead to the need for repairs, with damaged shingles being a common issue. Learning how to replace a roof shingle is a valuable skill for homeowners, ensuring your roof remains in top condition and protecting your home from the elements. In this comprehensive guide, we’ll walk you through the step-by-step process of replacing a roof shingle, empowering you to tackle this task confidently.

REQUEST A FREE QUOTE
In a hurry? Call us at 727-309-3344
Understanding the Anatomy of a Roof:
Before diving into the replacement process, it’s essential to understand the basic components of a roof. Shingles are the outermost layer, typically made of asphalt, wood, metal, or other materials, providing protection against rain, snow, and sunlight. Beneath the shingles lie the underlayment, sheathing, and rafters, forming the structure that supports the roof’s weight.
Assessing the Damage:
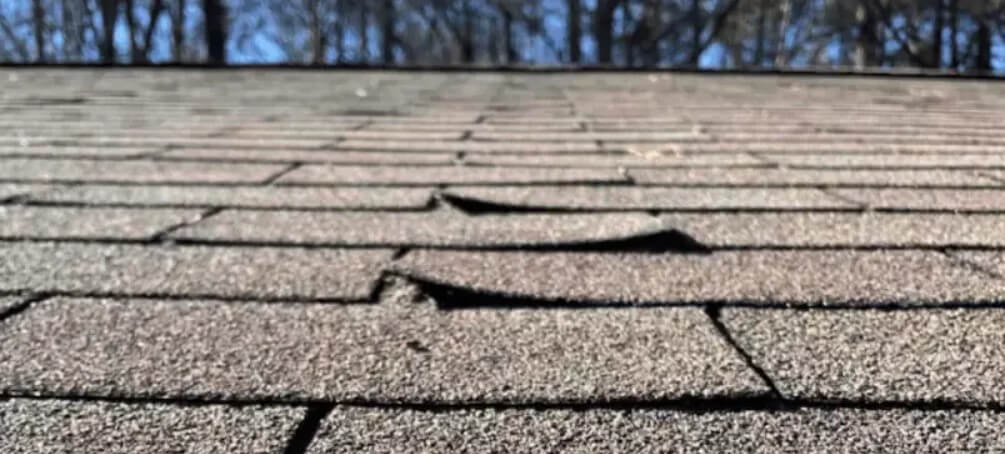
The first step in replacing a roof shingle is identifying the damaged area. Perform a visual inspection of your roof, looking for signs of missing, cracked, or curled shingles. Additionally, check for areas with granule loss, which can indicate aging shingles. Take note of the extent of the damage and gather the necessary materials and tools for the repair.
Gathering Materials and Tools:
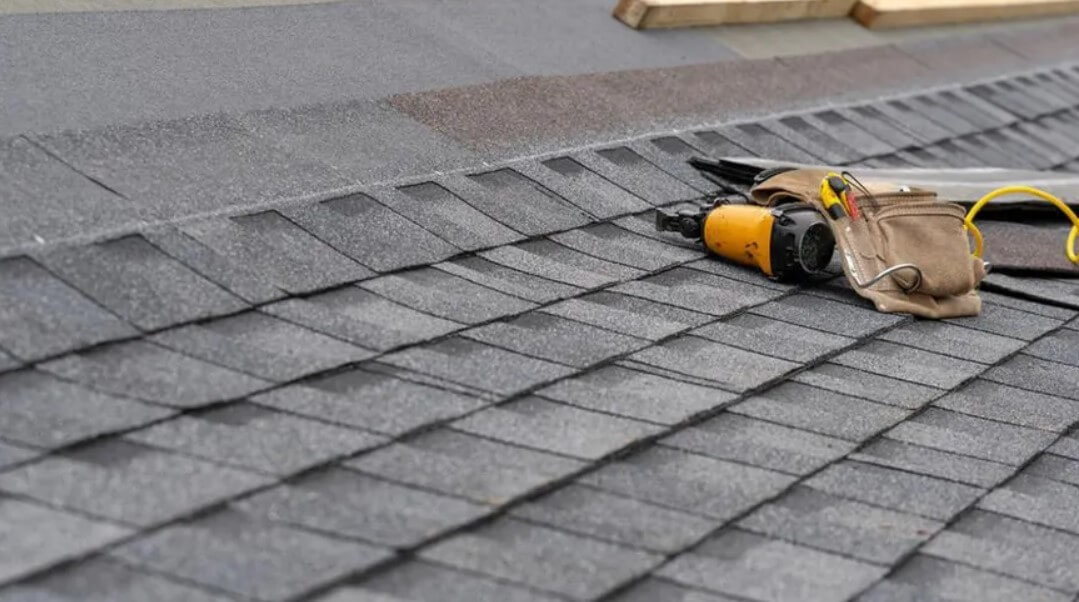
To replace a roof shingle, you’ll need the following materials and tools:
- Replacement shingles
- Roofing nails
- Hammer or nail gun
- Pry bar or shingle ripper
- Roofing cement or sealant
- Safety gear (gloves, safety glasses, and sturdy shoes)
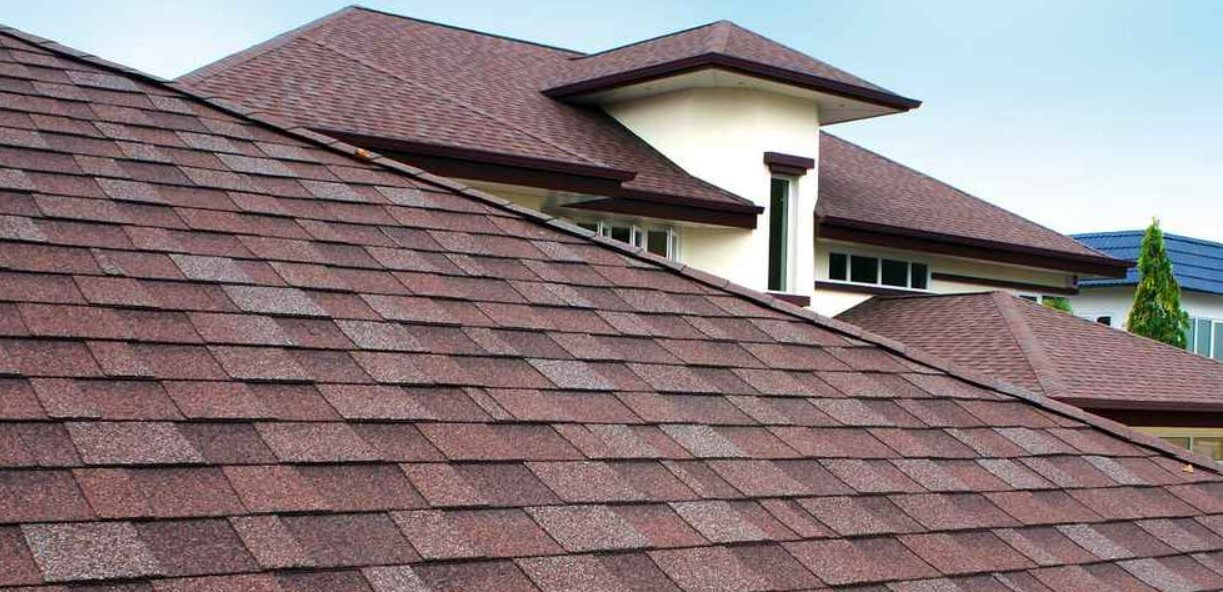
- Ensure you have the correct type and color of replacement shingles to maintain a uniform appearance.
Safety Precautions:
Before ascending your roof, prioritize safety. Wear appropriate safety gear to protect yourself from potential hazards, such as falls or sharp roofing materials. If you’re uncomfortable working at heights or if the roof slope is steep, consider hiring a professional roofer for assistance.

REQUEST A FREE QUOTE
In a hurry? Call us at 727-309-3344
Removing the Damaged Shingle:
Using a pry bar or shingle ripper, carefully lift the edges of the damaged shingle and loosen the roofing nails securing it in place. Once the nails are exposed, remove them using a hammer or nail gun. Take caution not to damage surrounding shingles during this process.
Installing the Replacement Shingle:
Slide the new shingle into place, ensuring it aligns with the surrounding shingles and fits snugly against the underlayment. Secure the shingle with roofing nails, driving them into the designated nail line just above the tab slots. Be mindful not to overdrive the nails, as this can damage the shingle and compromise its integrity.
Sealing the Shingle:
To prevent water infiltration and ensure a watertight seal, apply roofing cement or sealant to the edges and underside of the replacement shingle. Press the shingle firmly into place, ensuring it adheres securely to the underlayment and adjacent shingles.
Inspecting the Repair:
Once the replacement shingle is installed and sealed, perform a thorough inspection of the repair area. Check for any loose nails, gaps, or imperfections that may compromise the integrity of the repair. Address any issues promptly to prevent future damage.
Maintenance Tips:
To prolong the lifespan of your roof and prevent future shingle damage, consider implementing the following maintenance practices:
- Regular roof inspections: Conduct visual inspections of your roof at least twice a year, paying attention to signs of damage or deterioration.
- Clean gutters: Keep gutters free of debris to prevent water backup and potential roof leaks.
- Trim overhanging branches: Trim branches that hang over your roof to minimize the risk of falling debris and damage to shingles.
- Address leaks promptly: If you notice signs of a roof leak, such as water stains on ceilings or walls, address them promptly to prevent further damage to your home’s interior.

REQUEST A FREE QUOTE
In a hurry? Call us at 727-309-3344
Conclusion:
Learning how to replace a roof shingle is a valuable skill for homeowners, allowing you to address minor roof damage and maintain the integrity of your home’s roofing system. By following the step-by-step guide outlined above and prioritizing safety, you can confidently tackle this task and ensure your roof remains in top condition for years to come. Remember, when in doubt, consult a professional roofer for assistance to ensure the job is done right.
Contact Roofing.Co Now!
Ready to tackle your roof repair project? Whether it’s replacing a single shingle or a complete roofing overhaul, Roofing.Co has you covered. Get started today and ensure your home stays protected from the elements. Don’t wait until it’s too late—click here to contact us and schedule your roof repair consultation!
Services We Offer
Roofing co. can install any roof with great pride and care, no matter what style or type you prefer.
- Cost-Effective Roof Installation
- Roof Inspection
- HVAC Services
- Spray Foam Insulation
Roofing Co roofing system:
- Asphalt Shingle Roofs
- Metal Roofs
- Flat Roofs
At Roofing co. we understand that roofing services can be a significant investment, which is why we offer competitive pricing and financing options to help make our services more accessible to our customers. Contact us today!

