
Step-by-Step Roof Replacement Guide in Central Florida
Sep 29, 2026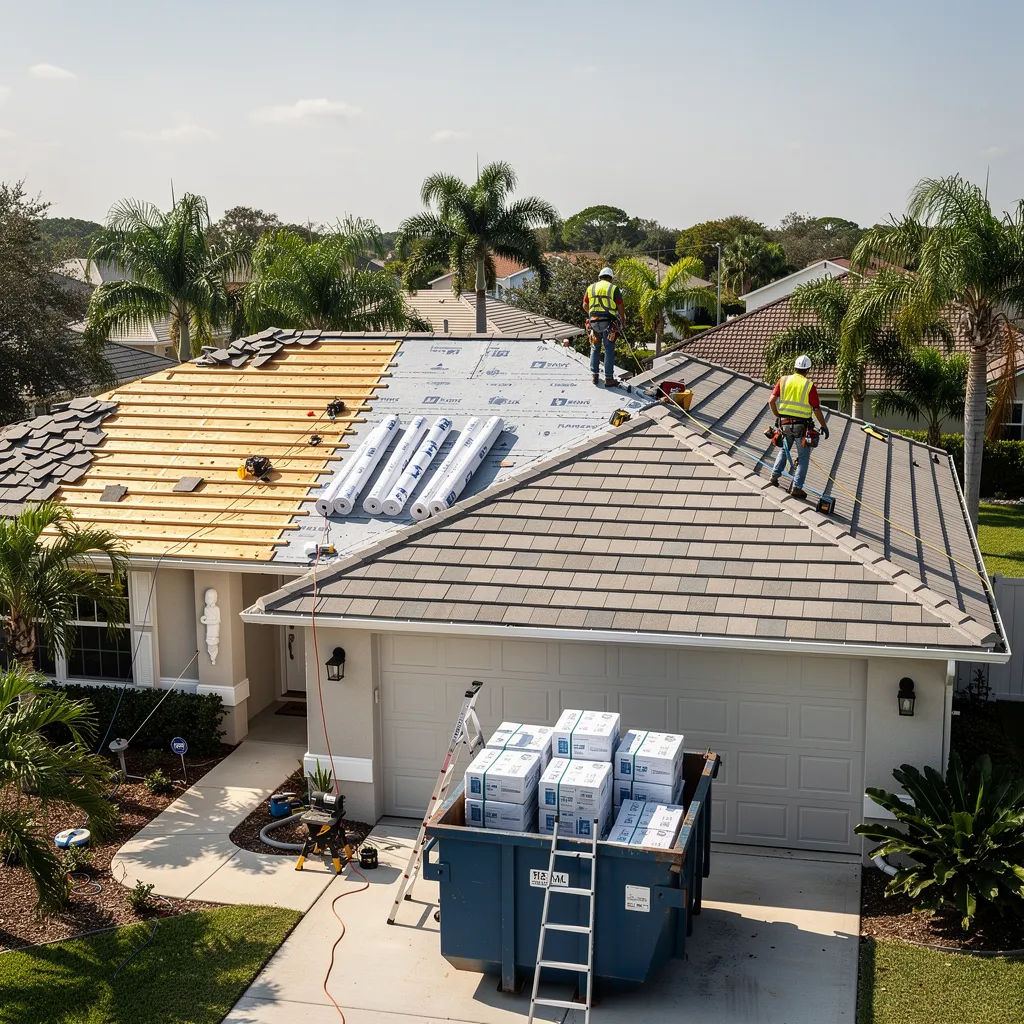
When it comes to Step-by-Step Roof Replacement Guide Florida, roof replacement in Central Florida follows ten clear steps: inspection, estimate, material selection, permitting, scheduling, tear-off, deck repair, underlayment, installation, and final inspection. Roofing.co guides homeowners through each stage with transparent communication and licensed craftsmanship. Most projects span two to four weeks total, with actual installation completed in one to five days depending on roofing material.
How long does a roof replacement take in Central Florida?
A roof replacement in Central Florida requires two distinct timelines: the actual installation days and the full project duration from start to finish. Asphalt shingle roofs typically take one to three days for installation. Tile or metal roofs require three to five days. The complete process from initial inspection through final cleanup usually spans two to four weeks when accounting for estimate preparation, material ordering, permitting, and scheduling.
What factors extend the total project timeline beyond installation days?
The gap between signing a contract and seeing a crew arrive often surprises homeowners. Permit approval from local municipalities can take one to two weeks depending on the jurisdiction. Material availability also plays a role — specialty tiles or custom metal panels may require additional lead time. Weather introduces another variable, particularly during Florida’s rainy season from June through September, which can add unexpected delays.
How does Roofing.co manage the timeline for Central Florida clients?
Roofing.co brings over 20 years of combined industry experience to every project, allowing the team to anticipate and navigate common scheduling obstacles. The company’s transparent communication approach keeps homeowners informed at every stage, from permit submission through final inspection. A skilled, licensed team coordinates material delivery and crew scheduling to minimize gaps between phases, aiming to complete the full process within the typical two-to-four-week window whenever weather permits.
What happens during the roof inspection and estimate?
A roof inspection and estimate at Roofing.co begins with a thorough assessment of the roof covering, flashing, decking, and attic condition. This process gives Central Florida homeowners a complete picture of their roof’s current state before any work begins. The company then provides a written, line-item quote that breaks down every cost, leaving nothing hidden.
How does Roofing.co measure the roof?
Roofing.co uses innovative technology to streamline the measurement process. The team measures the roof either with a drone or in person, depending on the property’s layout and accessibility. This approach eliminates guesswork and ensures the estimate reflects the exact square footage and material needs. Homeowners receive precise numbers, not rough approximations.
What makes the estimate process different from other roofing companies?
Roofing.co’s commitment to comprehensive customer education sets the estimate apart. The company explains each line item on the quote, from material grades to labor costs, so clients understand what they are paying for. Transparent communication means no surprises later. Homeowners can compare options and make informed decisions without pressure.
Key steps during the inspection and estimate:
- Covering and flashing check – The inspector examines shingles, tiles, or metal panels for damage, along with all flashing points around chimneys, vents, and walls.
- Decking and attic evaluation – The team looks for rot, moisture, or structural issues in the roof deck and attic space.
- Written line-item quote – After the assessment, Roofing.co delivers a detailed estimate with each cost clearly listed.
This upfront transparency builds trust from the very first interaction. Homeowners know exactly what needs repair or replacement before any commitment.
How do you prepare your home for roof replacement?
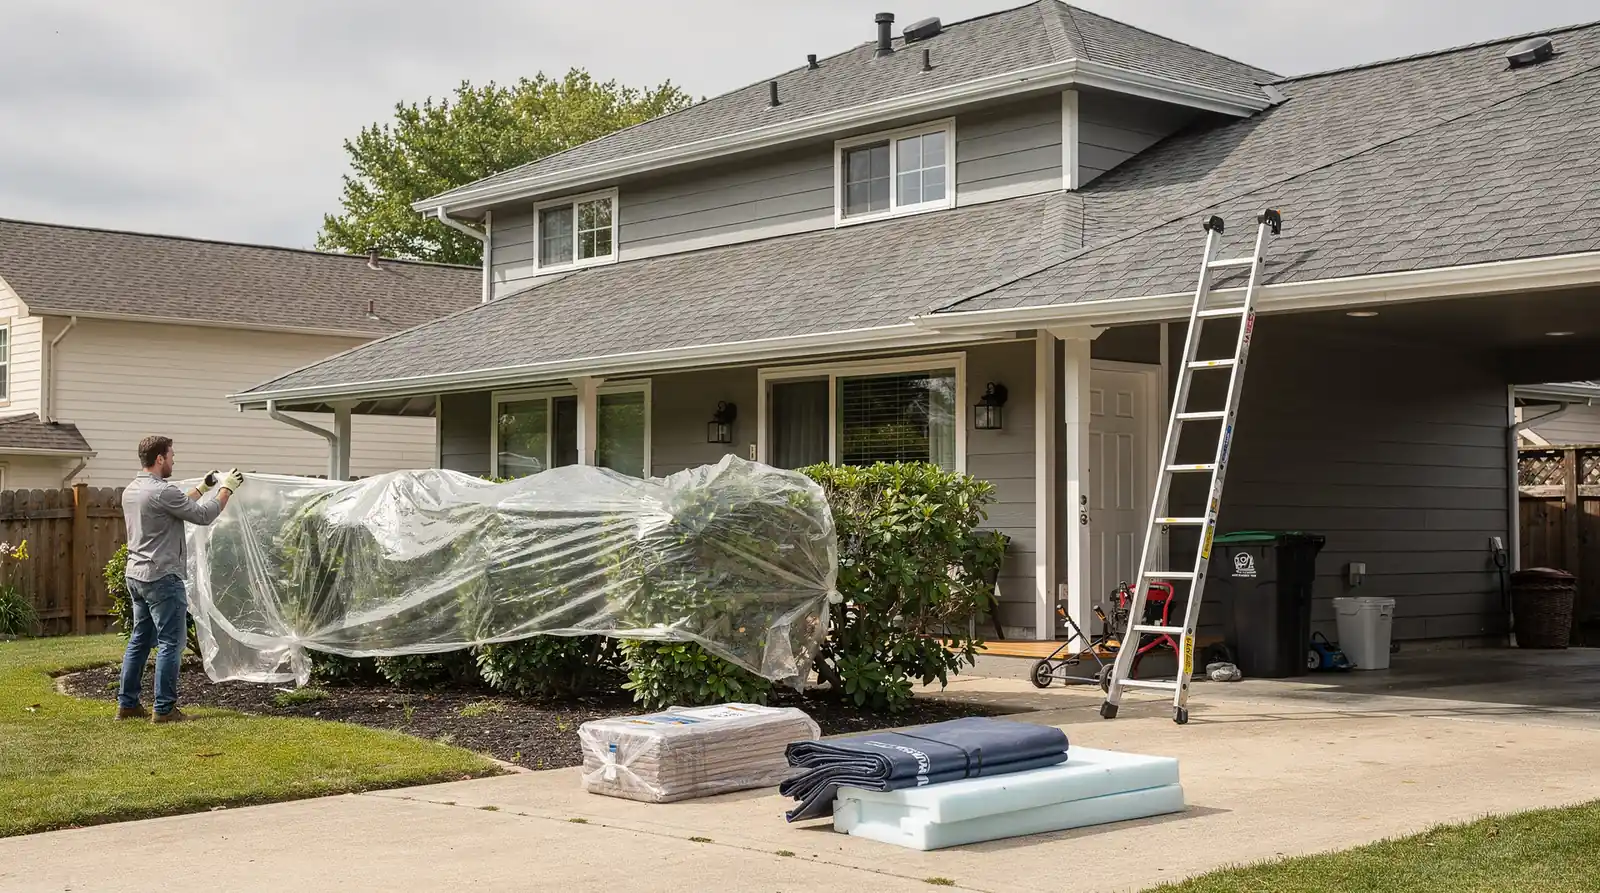
Proper preparation protects a home and its surroundings before a roofing crew arrives. The contractor handles the heavy lifting, but homeowners benefit from understanding what happens during this phase. Before any work begins, the roofing team takes specific steps to secure the property and create a safe work environment.
What does the contractor do to protect the property?
The preparation process starts with safeguarding the yard and exterior. Crews cover plants and landscaping with protective tarps to prevent debris damage. Outdoor furniture gets moved away from the work zone, typically into a garage or covered area. The team then installs scaffolding or a roofing platform to provide safe access to the roof. These structures keep workers stable and prevent accidental falls.
Can additional work be coordinated during preparation?
Roofing.co offers add-on services like soffit and fascia installations that can be completed alongside the replacement. Coordinating these upgrades during the same project saves time and avoids future disruptions. The company maintains a strong, direct line of communication with clients from start to finish, ensuring homeowners know exactly what happens at each stage.
Key preparation steps include:
- Covering plants and landscaping with protective materials
- Moving outdoor furniture to a secure location
- Installing scaffolding or a roofing platform for safe access
- Coordinating any add-on services like soffit or fascia work
This upfront work prevents damage and keeps the project running on schedule. Homeowners who understand these steps feel more confident as the replacement begins.
What are the steps to remove the old roof and install the new one?
Removing the old roof covering is the first physical step in any replacement project. A crew strips away all existing roofing material down to the roof deck, creating a clean surface for the new system. This demolition phase exposes the underlying structure for inspection before any new materials go on.
How does the removal process work?
The removal process starts with protecting the property. Crews lay tarps over landscaping, place plywood over delicate surfaces, and set up dumpsters for debris. Workers then tear off old shingles, tiles, or metal panels using specialized tools like roofing shovels and tear-off machines. The team removes all flashing, underlayment, and any damaged decking boards during this phase. A thorough cleanup follows, with magnetic sweepers collecting stray nails from the yard and driveway.
What happens during the new installation?
Once the deck is clean and repaired, installation begins. Roofing.co sources roofing materials from industry-leading manufacturers, ensuring every component meets high quality standards. The skilled, licensed team at Roofing.co completes projects with great precision and care, following a systematic sequence:
- Install new underlayment — A waterproof barrier goes over the entire deck to protect against moisture intrusion.
- Apply starter strips — These pre-cut shingle strips seal the roof’s edges and eaves.
- Install new flashing — Metal flashing wraps around chimneys, vents, and valleys to direct water away from vulnerable joints.
- Lay the field shingles or panels — The main roofing material goes on in overlapping rows, starting from the bottom edge and working upward.
- Cap the ridge — Ridge vents and cap shingles finish the peak, allowing attic ventilation while sealing the top edge.
Roofing.co aims to be the only roofing company a homeowner needs for the entire lifespan of their new roof. This complete process transforms a worn, leak-prone covering into a durable, weather-tight system built to withstand Central Florida’s intense sun and seasonal storms.
What happens after installation and how do you avoid mistakes?
The final phase of a roof replacement moves through cleanup to a final sign-off, completing the entire process from initial inspection to full project close. The complete workflow — estimate preparation, material ordering, permitting, scheduling, and installation — typically spans two to four weeks. Avoiding mistakes requires homeowners to stay engaged during this final stage.
Roofing.co’s educational approach ensures homeowners remain fully informed throughout. Transparent communication and top-notch materials foster trust, helping clients make sound decisions even in the final phase. When homeowners understand what a proper sign-off looks like, they catch issues before they become expensive problems.
How does the cleanup process work?
The crew removes all debris from the property, including old shingles, nails, and packaging materials. Roofing.co performs a thorough magnet sweep of the yard and driveway to pick up stray metal fragments. A clean worksite protects landscaping and prevents injury to family members or pets.
What happens during the final sign-off?
A project manager walks the homeowner across the completed roof, pointing out key features like flashing, ridge vents, and any upgraded materials. This walkthrough gives homeowners the chance to inspect workmanship directly. Roofing.co provides documentation covering manufacturer warranties and maintenance recommendations. Homeowners who ask questions during this walkthrough avoid confusion later and confirm the installation matches the contract specifications.
How does documentation prevent future mistakes?
Having a complete paper trail matters for storm damage claims and resale value. Roofing.co’s expertise in handling storm damage repairs in Central Florida means homeowners receive clear records of materials used and work performed. Keep the final inspection report, warranty certificates, and maintenance schedule in a safe location. Homeowners with organized documentation resolve insurance disputes faster and extend roof lifespan through proper maintenance.
FAQ
What are the ten steps in the Central Florida roof replacement process?
The process includes inspection, estimate, material selection, permitting, scheduling, tear-off, deck repair, underlayment, installation, and final inspection. Roofing.co guides homeowners through each stage with transparent communication and licensed craftsmanship, typically completing the full project in two to four weeks.
How long does the actual roof installation take?
Asphalt shingle roofs take one to three days for installation, while tile or metal roofs require three to five days. The complete process, including inspection, permitting, and scheduling, spans two to four weeks total.
How does Roofing.co measure a roof for the estimate?
Roofing.co uses innovative technology, measuring the roof either with a drone or in person depending on the property’s layout. This eliminates guesswork and ensures the estimate reflects exact square footage and material needs.
Conclusion
In closing, understanding the roof replacement process empowers you to make informed decisions about one of your home’s most critical investments. At Roofing.co, we combine over two decades of industry expertise with transparent communication to guide you through every step, ensuring your Central Florida home receives the exceptional craftsmanship and quality materials it deserves. Our commitment to education means you’ll never feel left in the dark—from initial inspection through final installation, we’re here to deliver the reliable, professional roofing solutions that protect your home for years to come.
